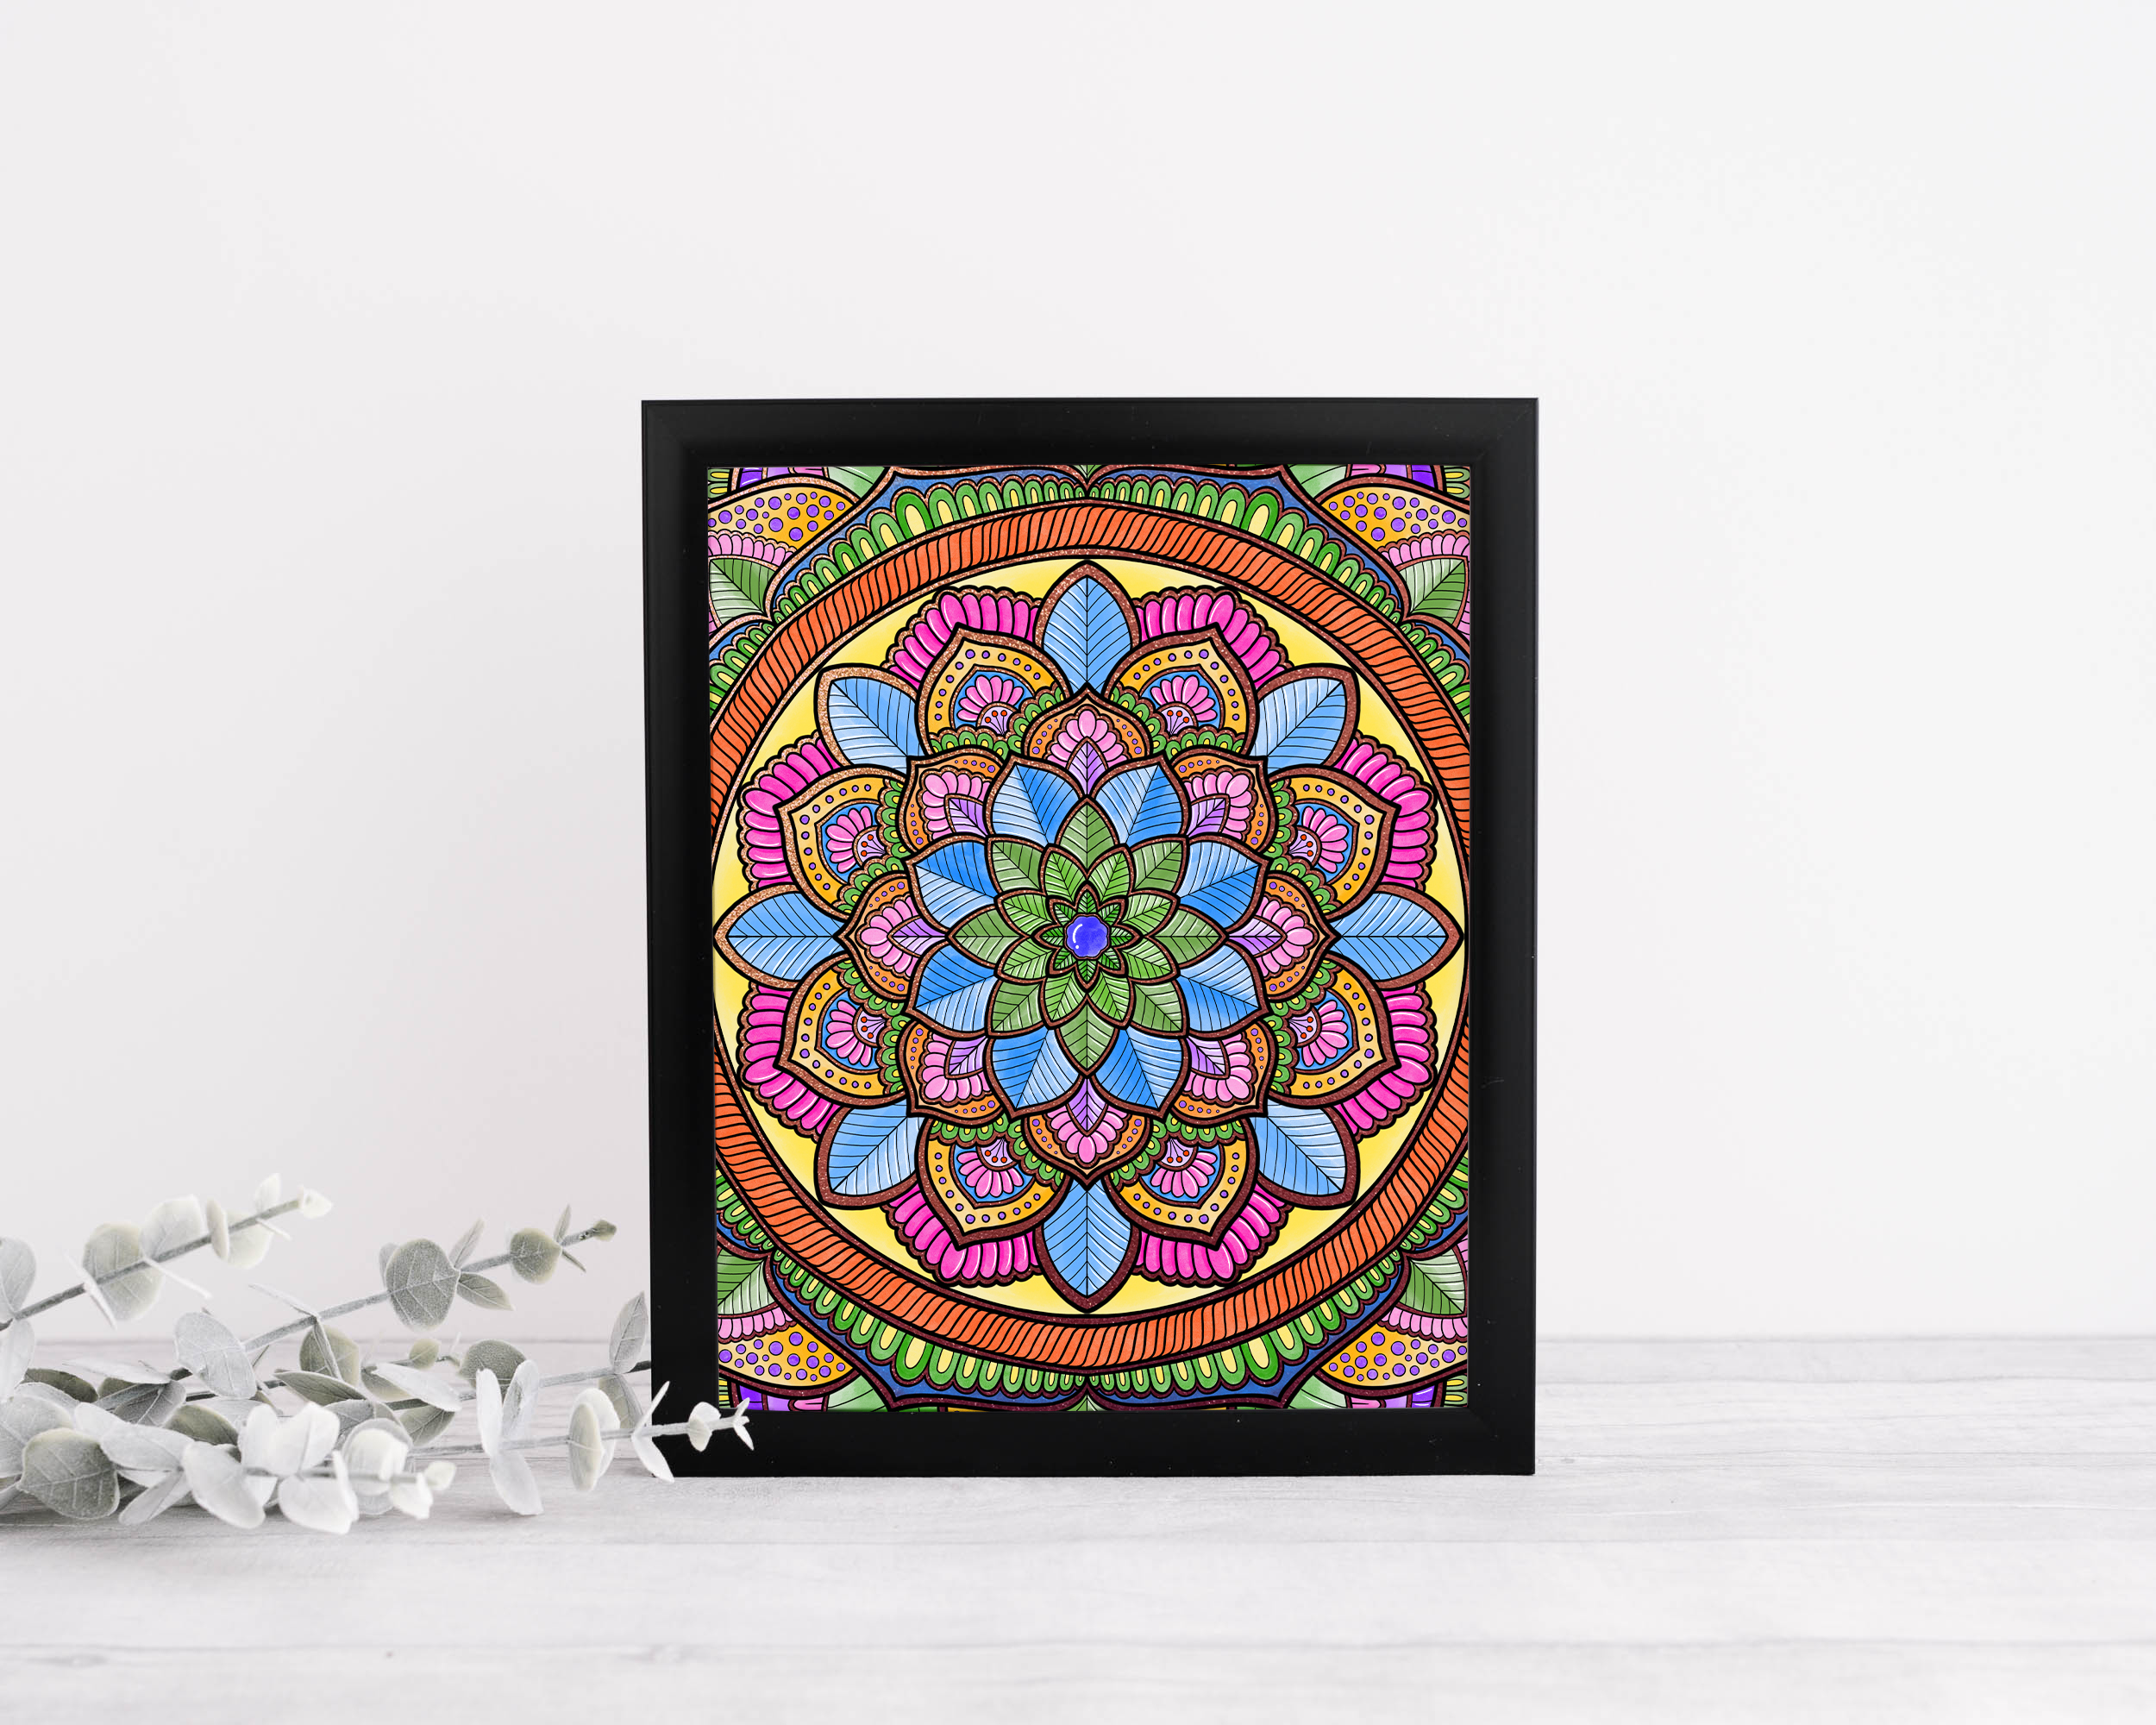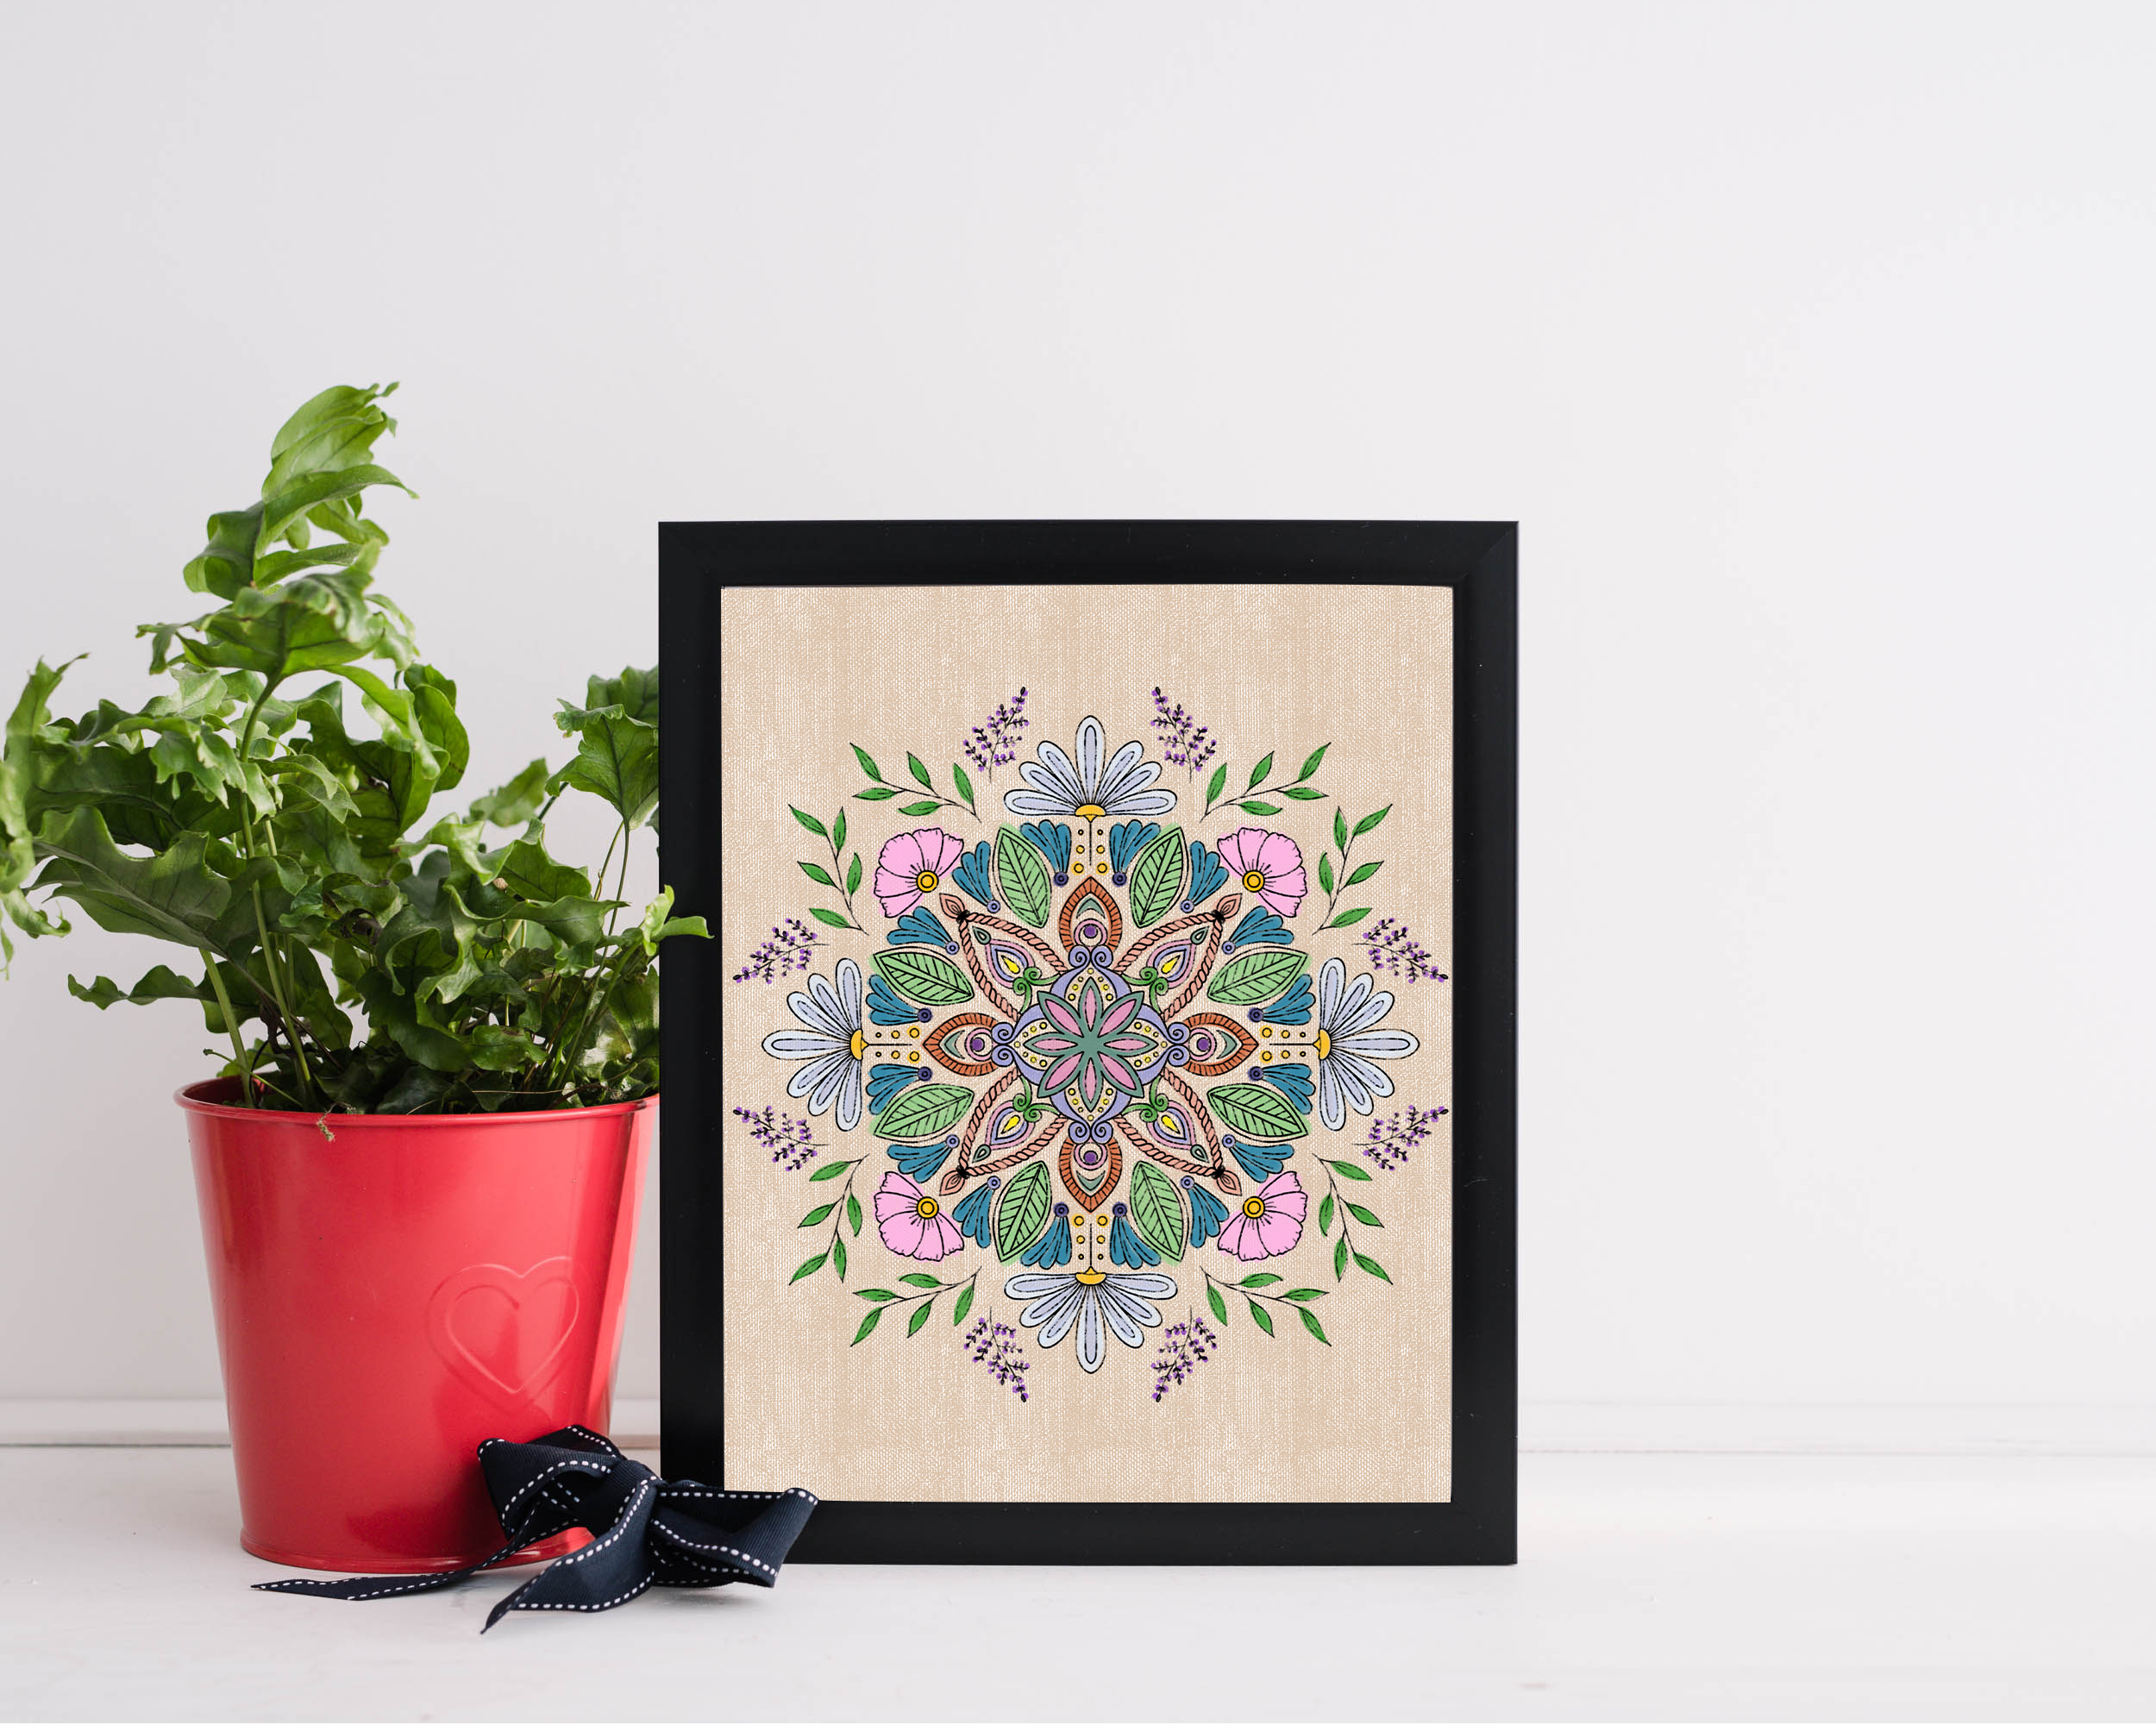
People often ask us: do you draw digitally or by hand? The honest answer is both — and neither fully describes what we do. Our process is a conversation between two worlds that most people treat as separate. Physical media gives us the unpredictability, the warmth, the beautiful accidents. Digital tools give us the ability to refine, to scale, to explore variations that would be impossible or irreversible with ink and paper alone.
What follows is a transparent, step-by-step account of how a piece comes to life in our studio — from the first tentative mark to the finished print that ships to your door.
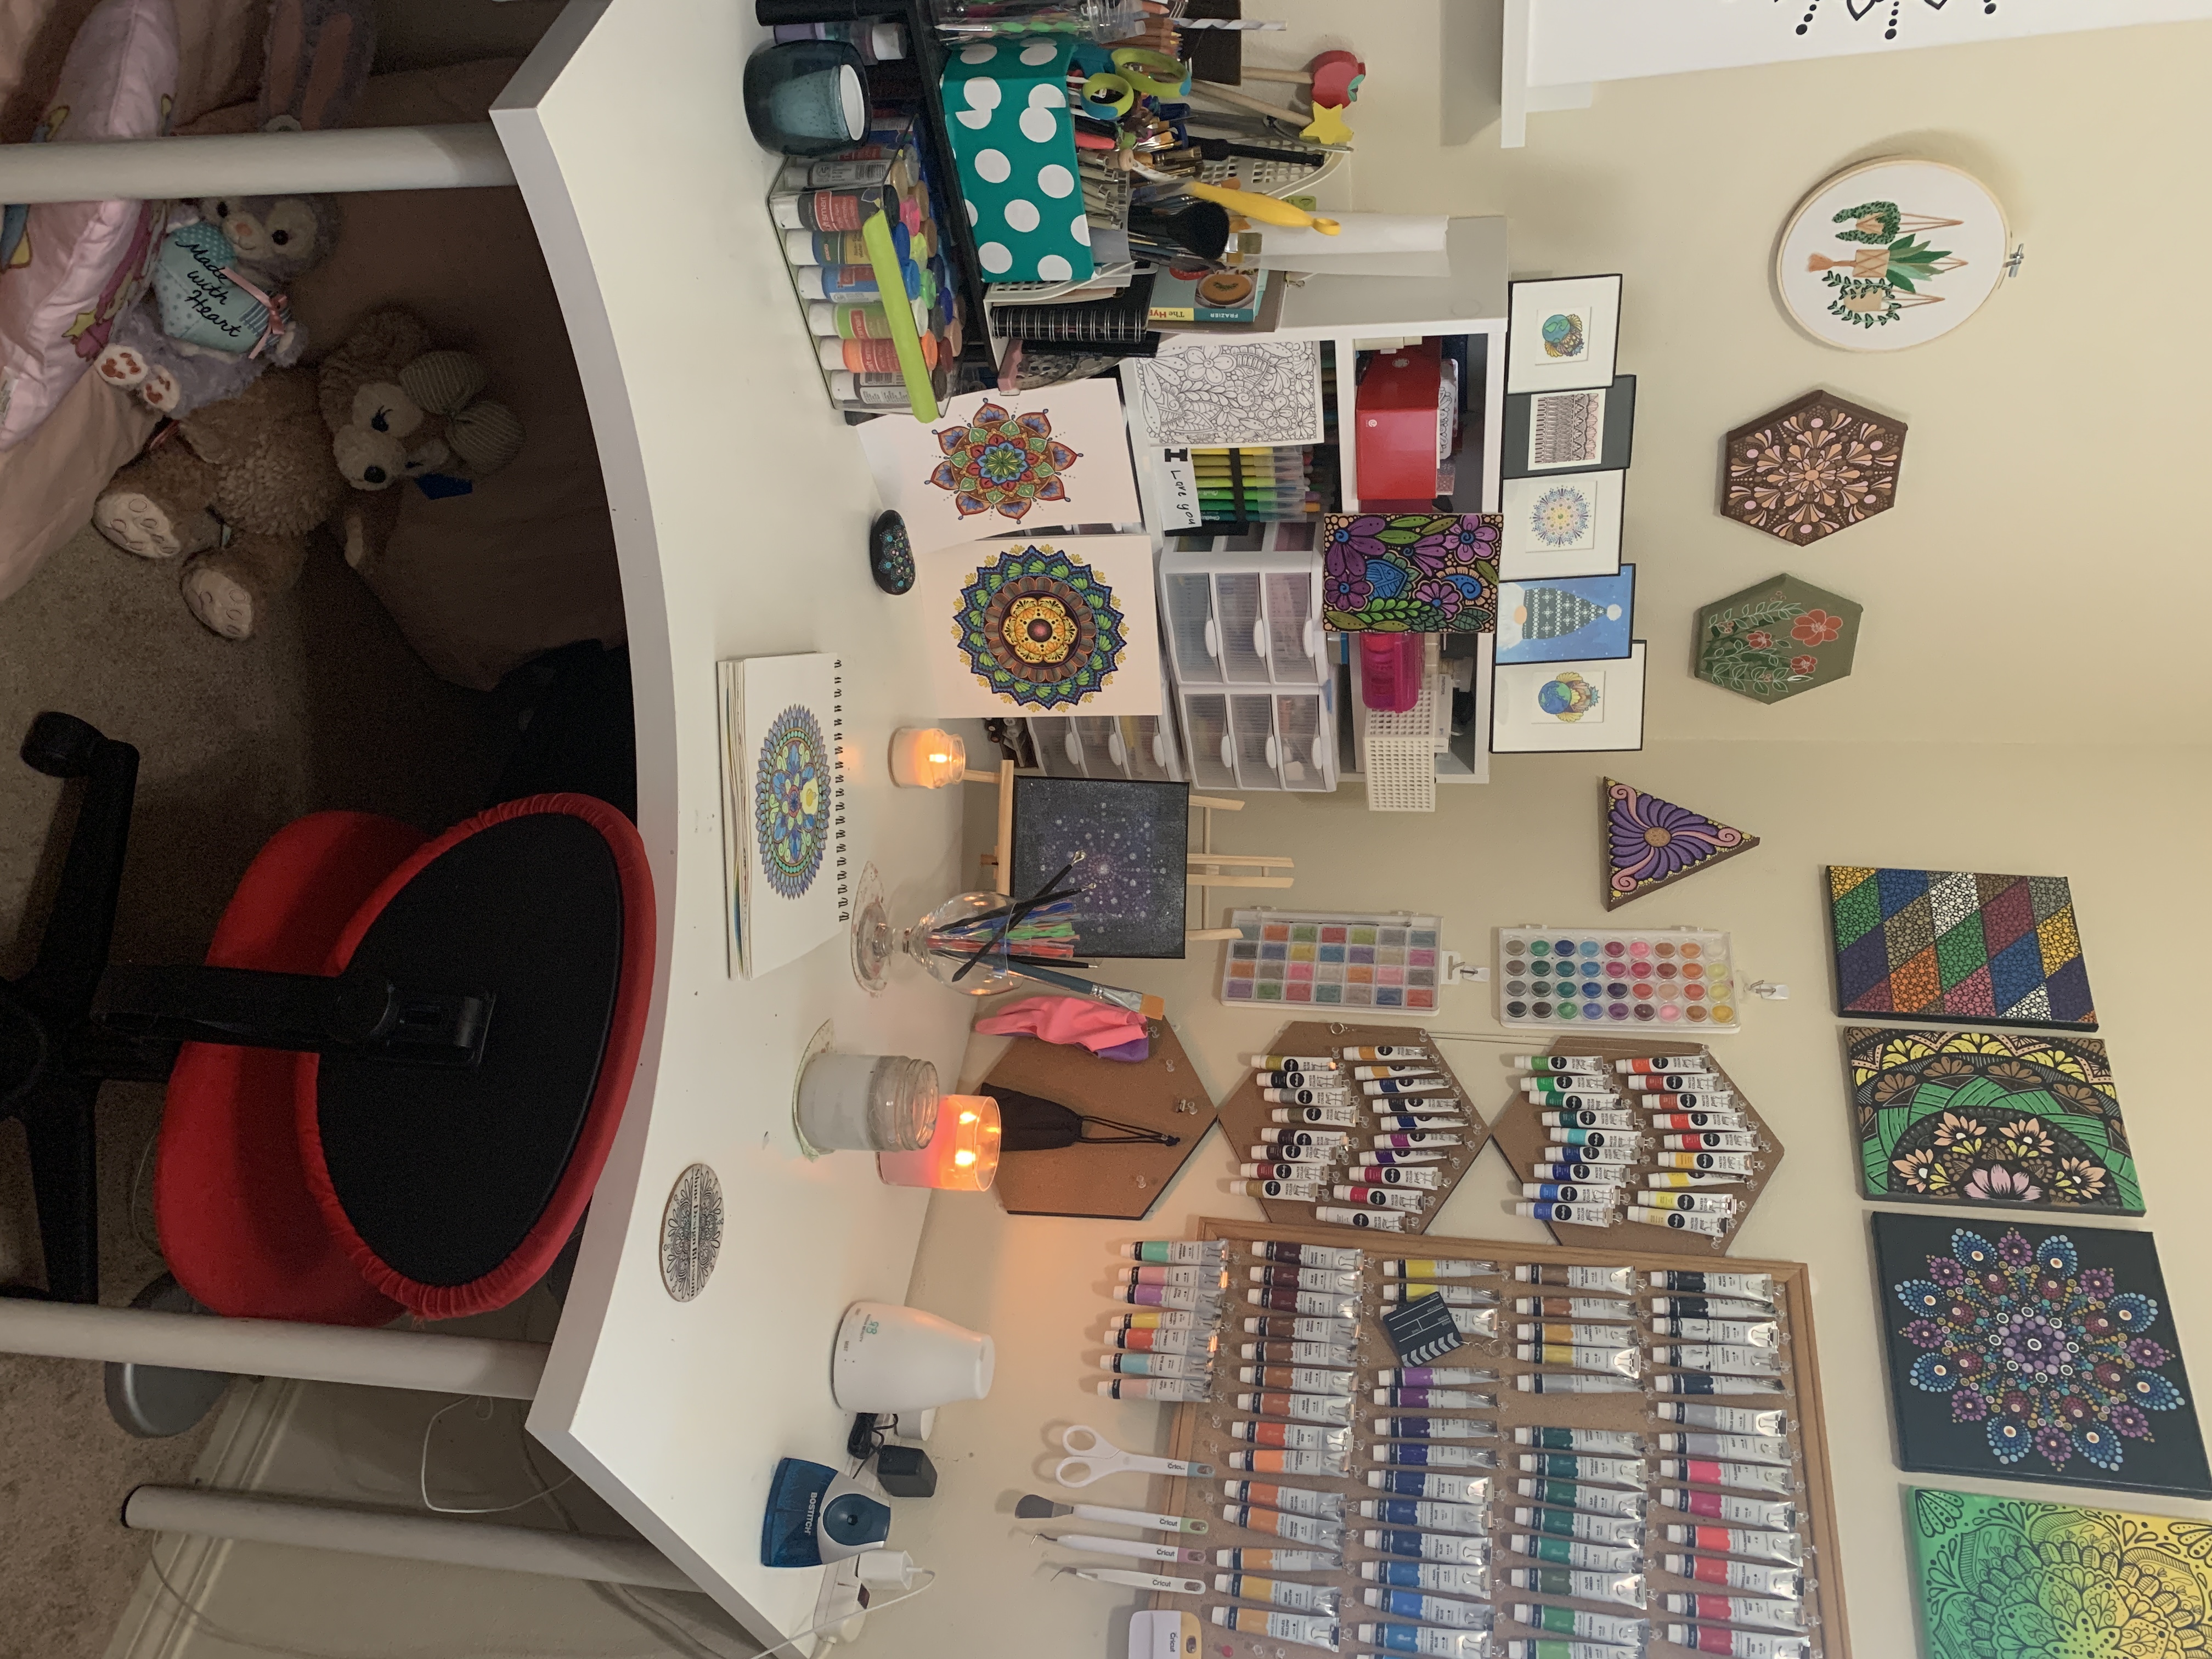
Our studio is a controlled chaos of pens, paints, tablets, and half-finished ideas — exactly as it should be.
The Blank Page & the First Question
We never begin with a fully formed idea. We begin with an intention — a feeling, an image that won't quite resolve, or sometimes just a color relationship that has been sitting in the back of the mind for days. The first tool we reach for is always physical: a 0.3mm fineliner on heavyweight cold-press paper, usually 300gsm or above. The resistance of the paper matters. It slows you down in a way that a smooth digital canvas does not.
For mandala-based work, the first act is to find the center. We mark it lightly with pencil — just a dot, barely visible — and from there, everything radiates. The first few lines are always the most uncertain. They carry the most commitment: you cannot erase a fineliner, and you should not want to. The slight wobble in an early arc becomes part of the finished piece. It is evidence that a person made this thing, not a machine.
The mistake artists often make is trying to remove all evidence of themselves from the work. We try to do the opposite — to make the human hand undeniable.
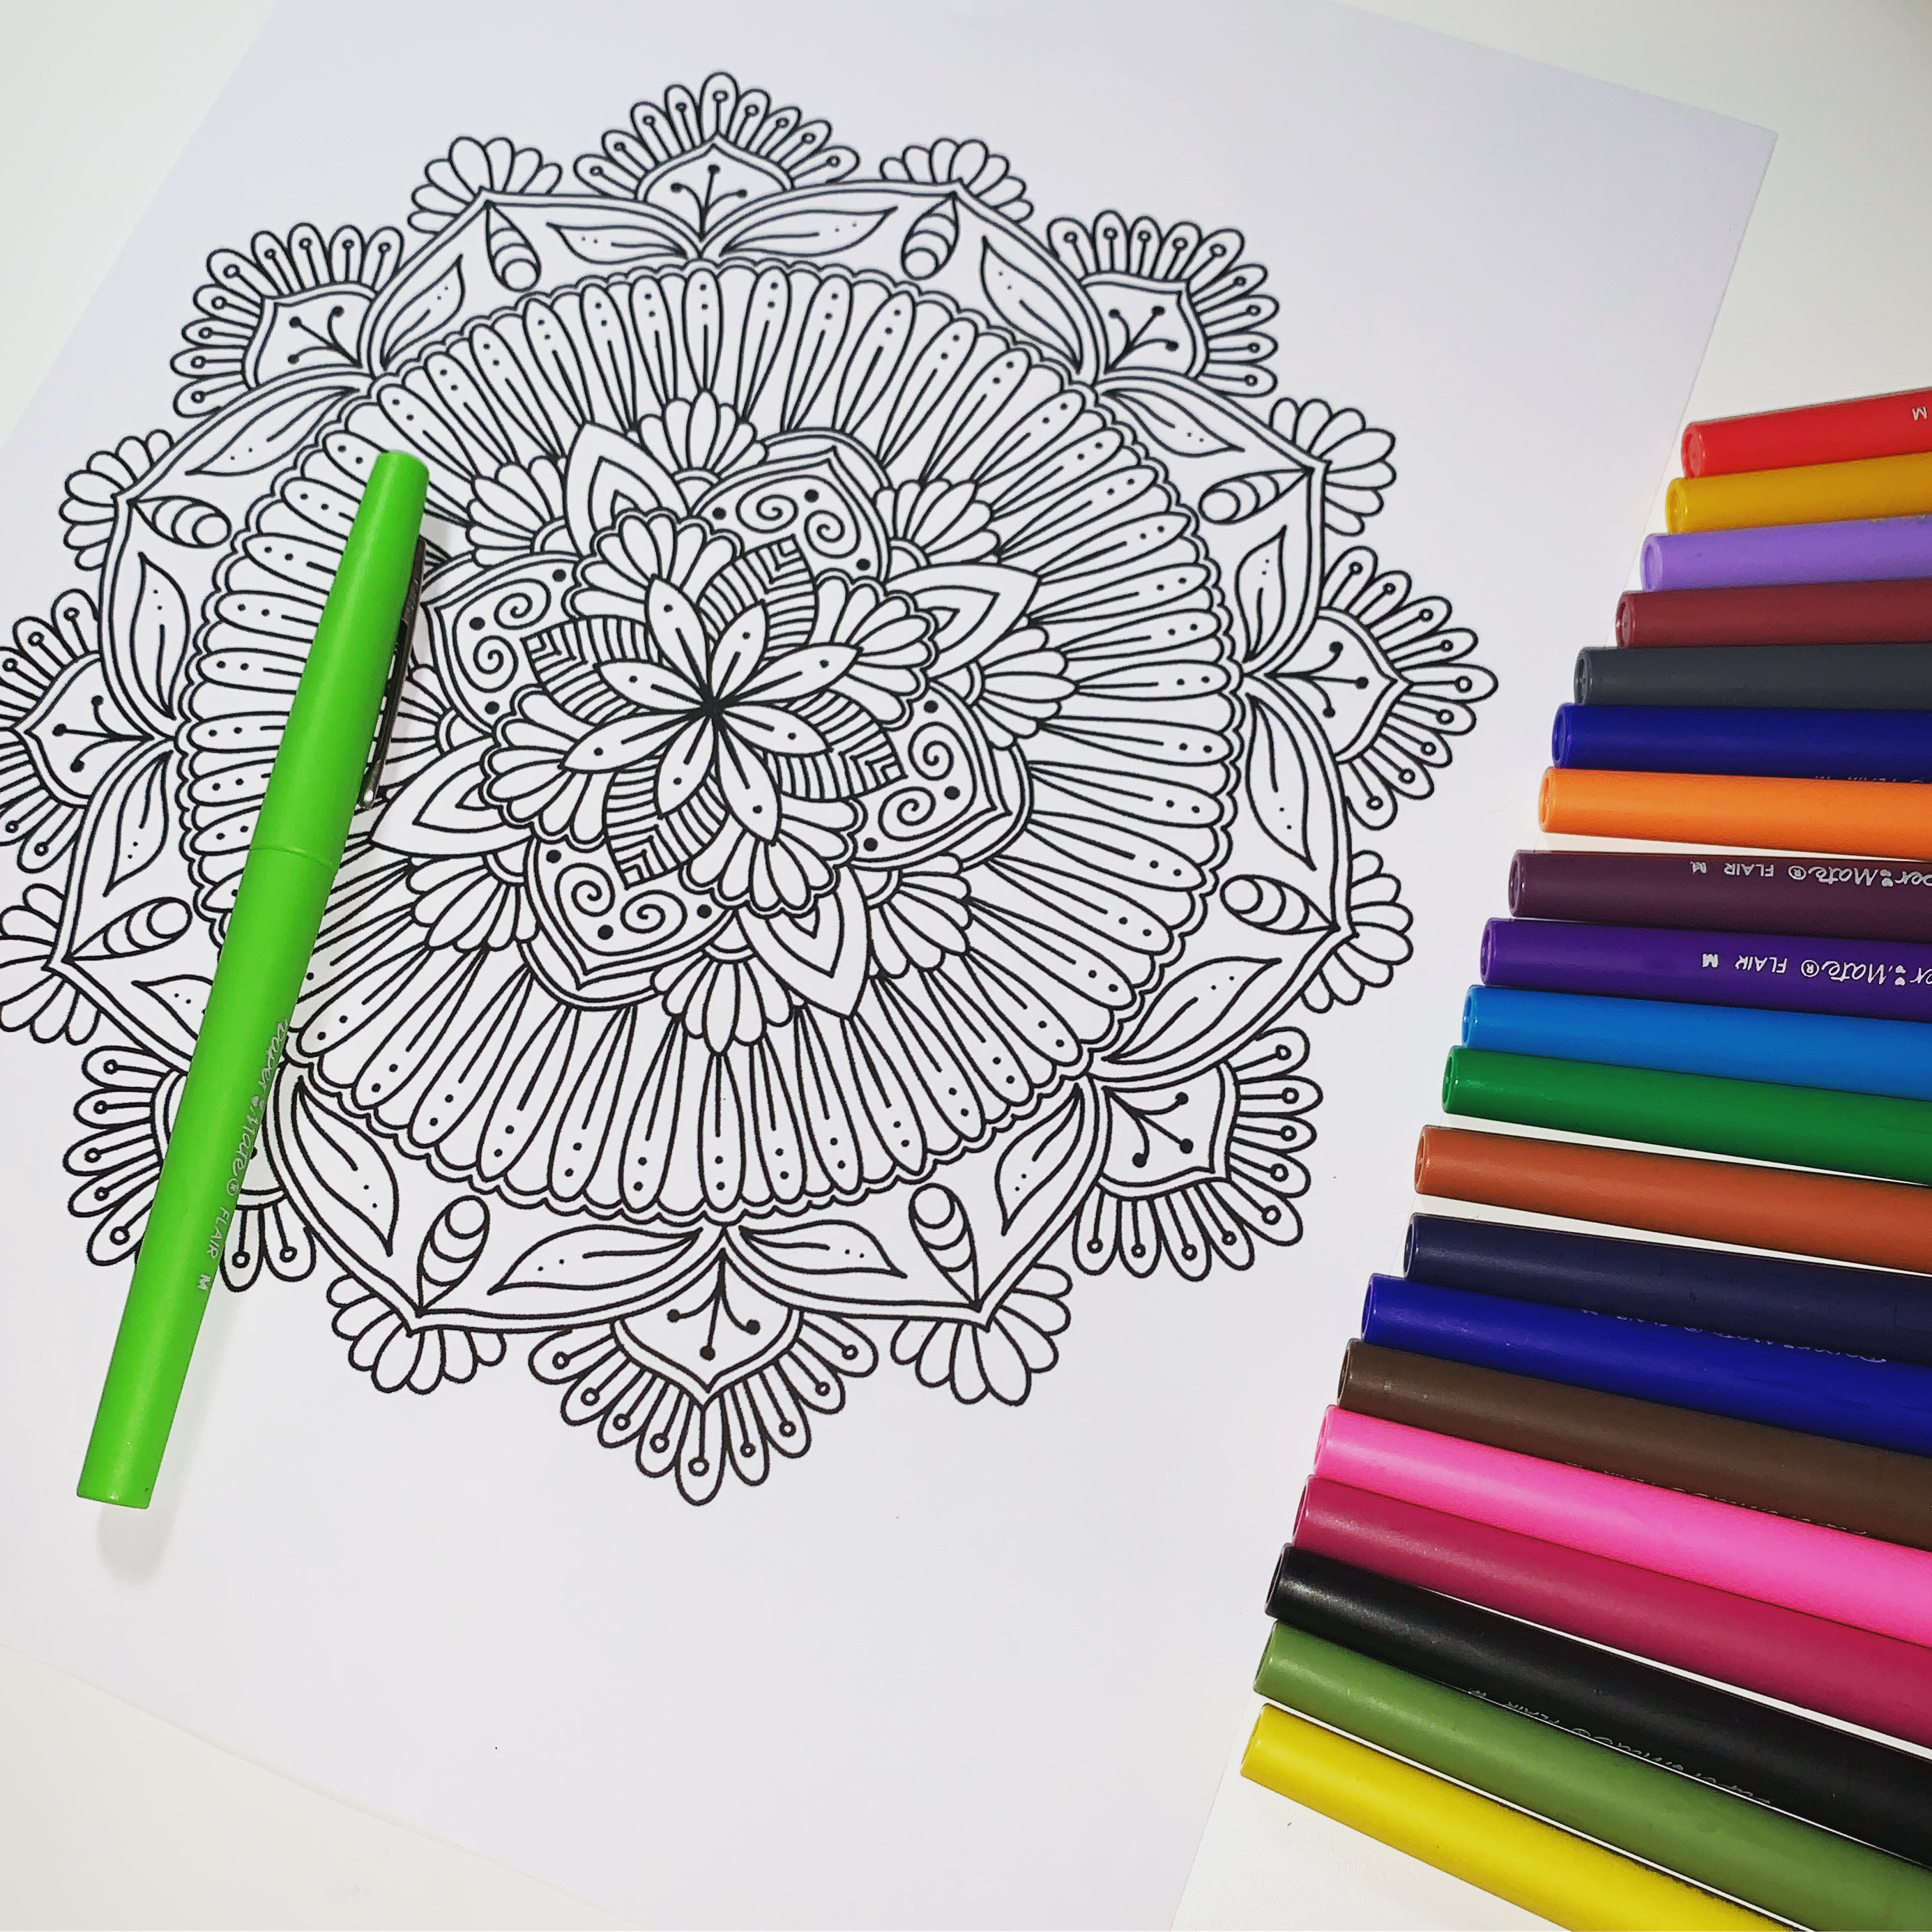
The physical phase: fineliners, colored markers, and time. Lots of time.
Building in Layers: Ink, Then Colour
Once the structural linework is complete — and this alone can take anywhere from two hours to two full days depending on the complexity — we introduce colour. Our preferred tools at this stage are alcohol-based markers for their smooth blending and rich saturation, supplemented with watercolour washes for areas where we want softness and bloom.
The colour phase is governed by a rule we set for ourselves early on: commit to a palette before you begin and do not deviate. This constraint creates coherence. A mandala with twelve colours that fight each other is visually exhausting; one built from four or five carefully chosen values that support each other becomes something the eye can rest in. We sketch colour tests on scrap paper before touching the actual piece. This is not caution — it is respect for the work already done.
Colour also carries emotional weight that we take seriously. The botanical mandala series, for example, uses greens and muted rose-pinks that signal growth and gentleness. The geometric series leans into deep navy and teal — colours associated with depth and clarity of thought. These are not random choices. They are part of the intention set at the beginning of step one.
03Scanning & the Digital Threshold
When the physical piece is complete — when we have looked at it long enough to know there is nothing left to add or change — it moves to the scanner. We use a flatbed scanner at 600dpi minimum, often 1200dpi for pieces where fine linework needs to survive significant enlargement. The resulting file is typically enormous, sometimes several hundred megabytes, and this is intentional. We are capturing everything: the paper grain, the slight variation in ink pressure, the places where the marker bled just a fraction beyond the line.
Cleaning the scan is the first digital task. We adjust levels to restore the white of the paper without blowing out the delicate pale areas of the illustration. We remove dust specks and scanner artifacts. But we are disciplined about what we do not clean: the slight imperfections in linework stay. The texture of the paper stays. The evidence of the hand stays.
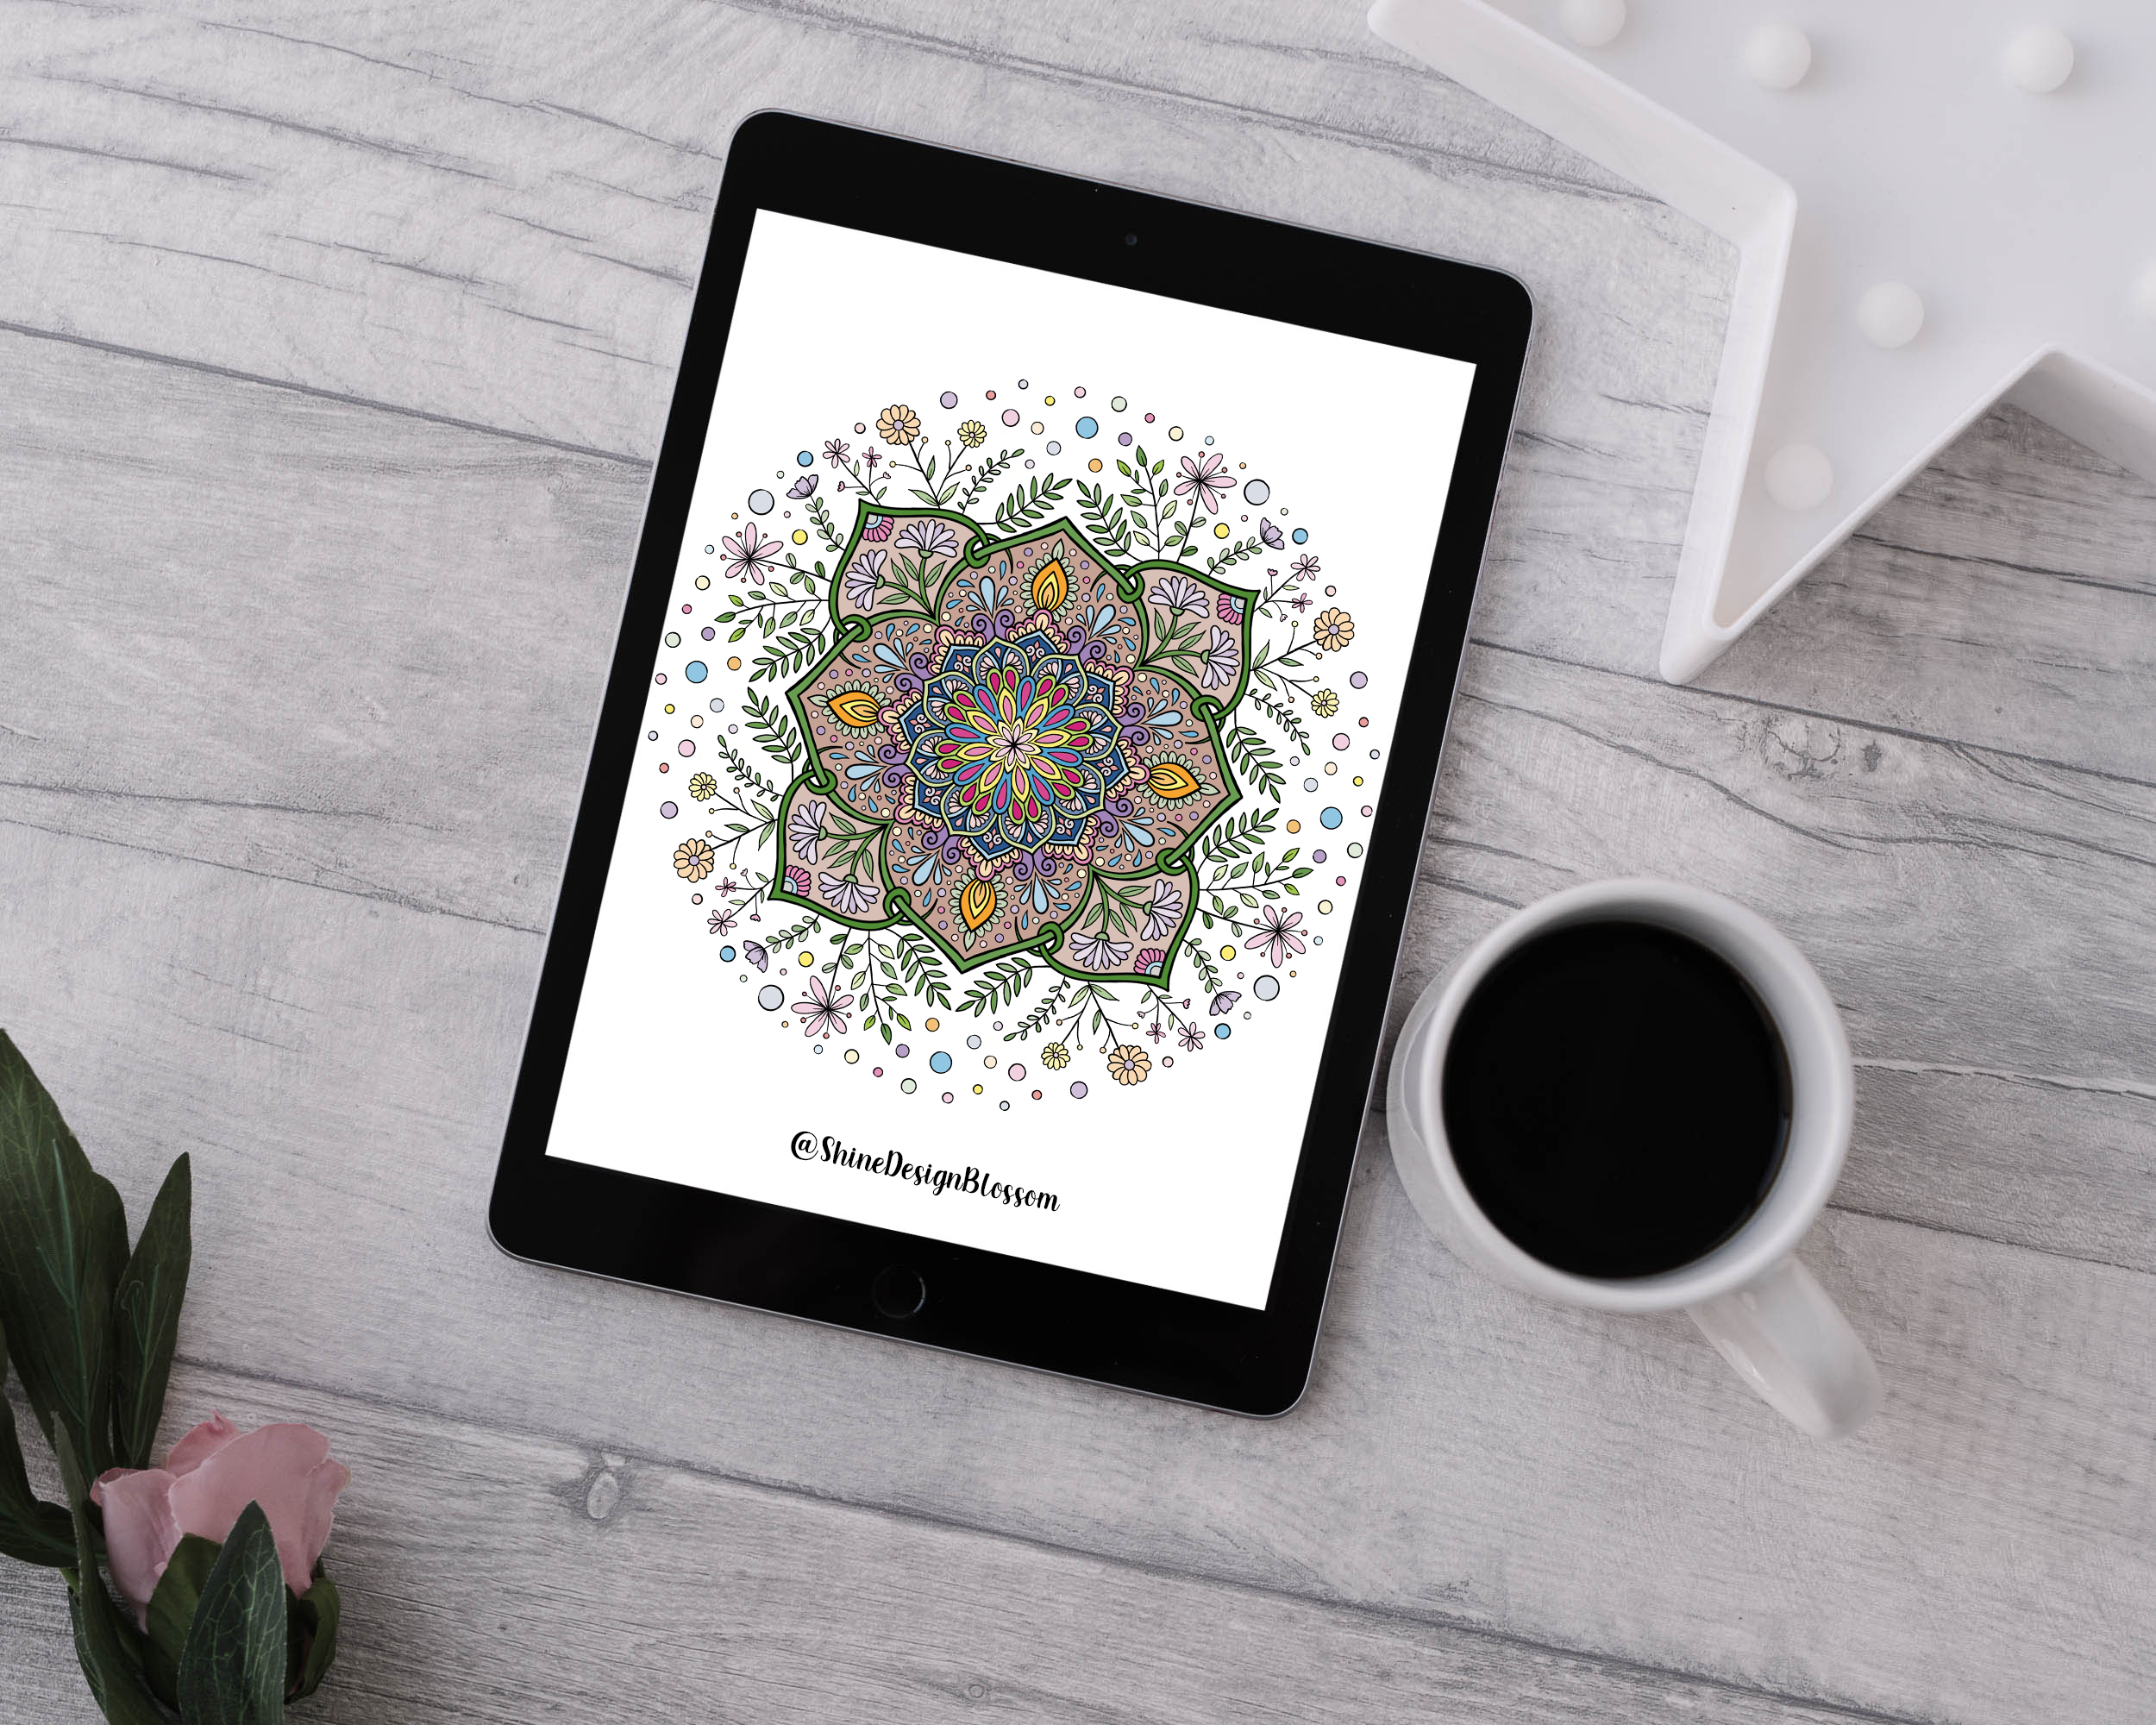
The same mandala, same soul — now living in the digital world too.
Digital Refinement: Expanding the Possible
This is where the phygital philosophy becomes most visible. With the physical scan as a base layer, we begin exploring. Not correcting — exploring. What does this piece look like on a deep cobalt background? What if we isolate just the central motif and blow it up to fill an entire wall? What if we introduce a second colour palette — cooler, more architectural — and see whether the composition holds?
Some of these explorations become separate products. The black-and-white ink drawing that began as a single piece might generate three or four distinct digital variants: the original, a warm cream-ground version, an inverted dark edition, and a detail crop that works as a standalone print. This is part of the value of the phygital approach — the physical original is the soul, and the digital space is the room in which that soul can take different forms.
We also use this phase for print-size optimisation. A piece destined for an A3 print needs different treatment than one being prepared for a large-format wall mural. We check that lines remain crisp at the intended output size, that colours will translate faithfully to the specific paper stock, and that the composition remains balanced when the proportions change.
05Physical Release: Back to the Real World
The final step returns the work to the physical world — which is where it belongs. We print on archival matte fine art paper with pigment-based inks that are rated for 100+ years without significant fading. Every print is inspected by hand before shipping. If a print has a colour band, a dust particle in the coating, or any imperfection that we would notice on our own walls, it does not leave the studio.
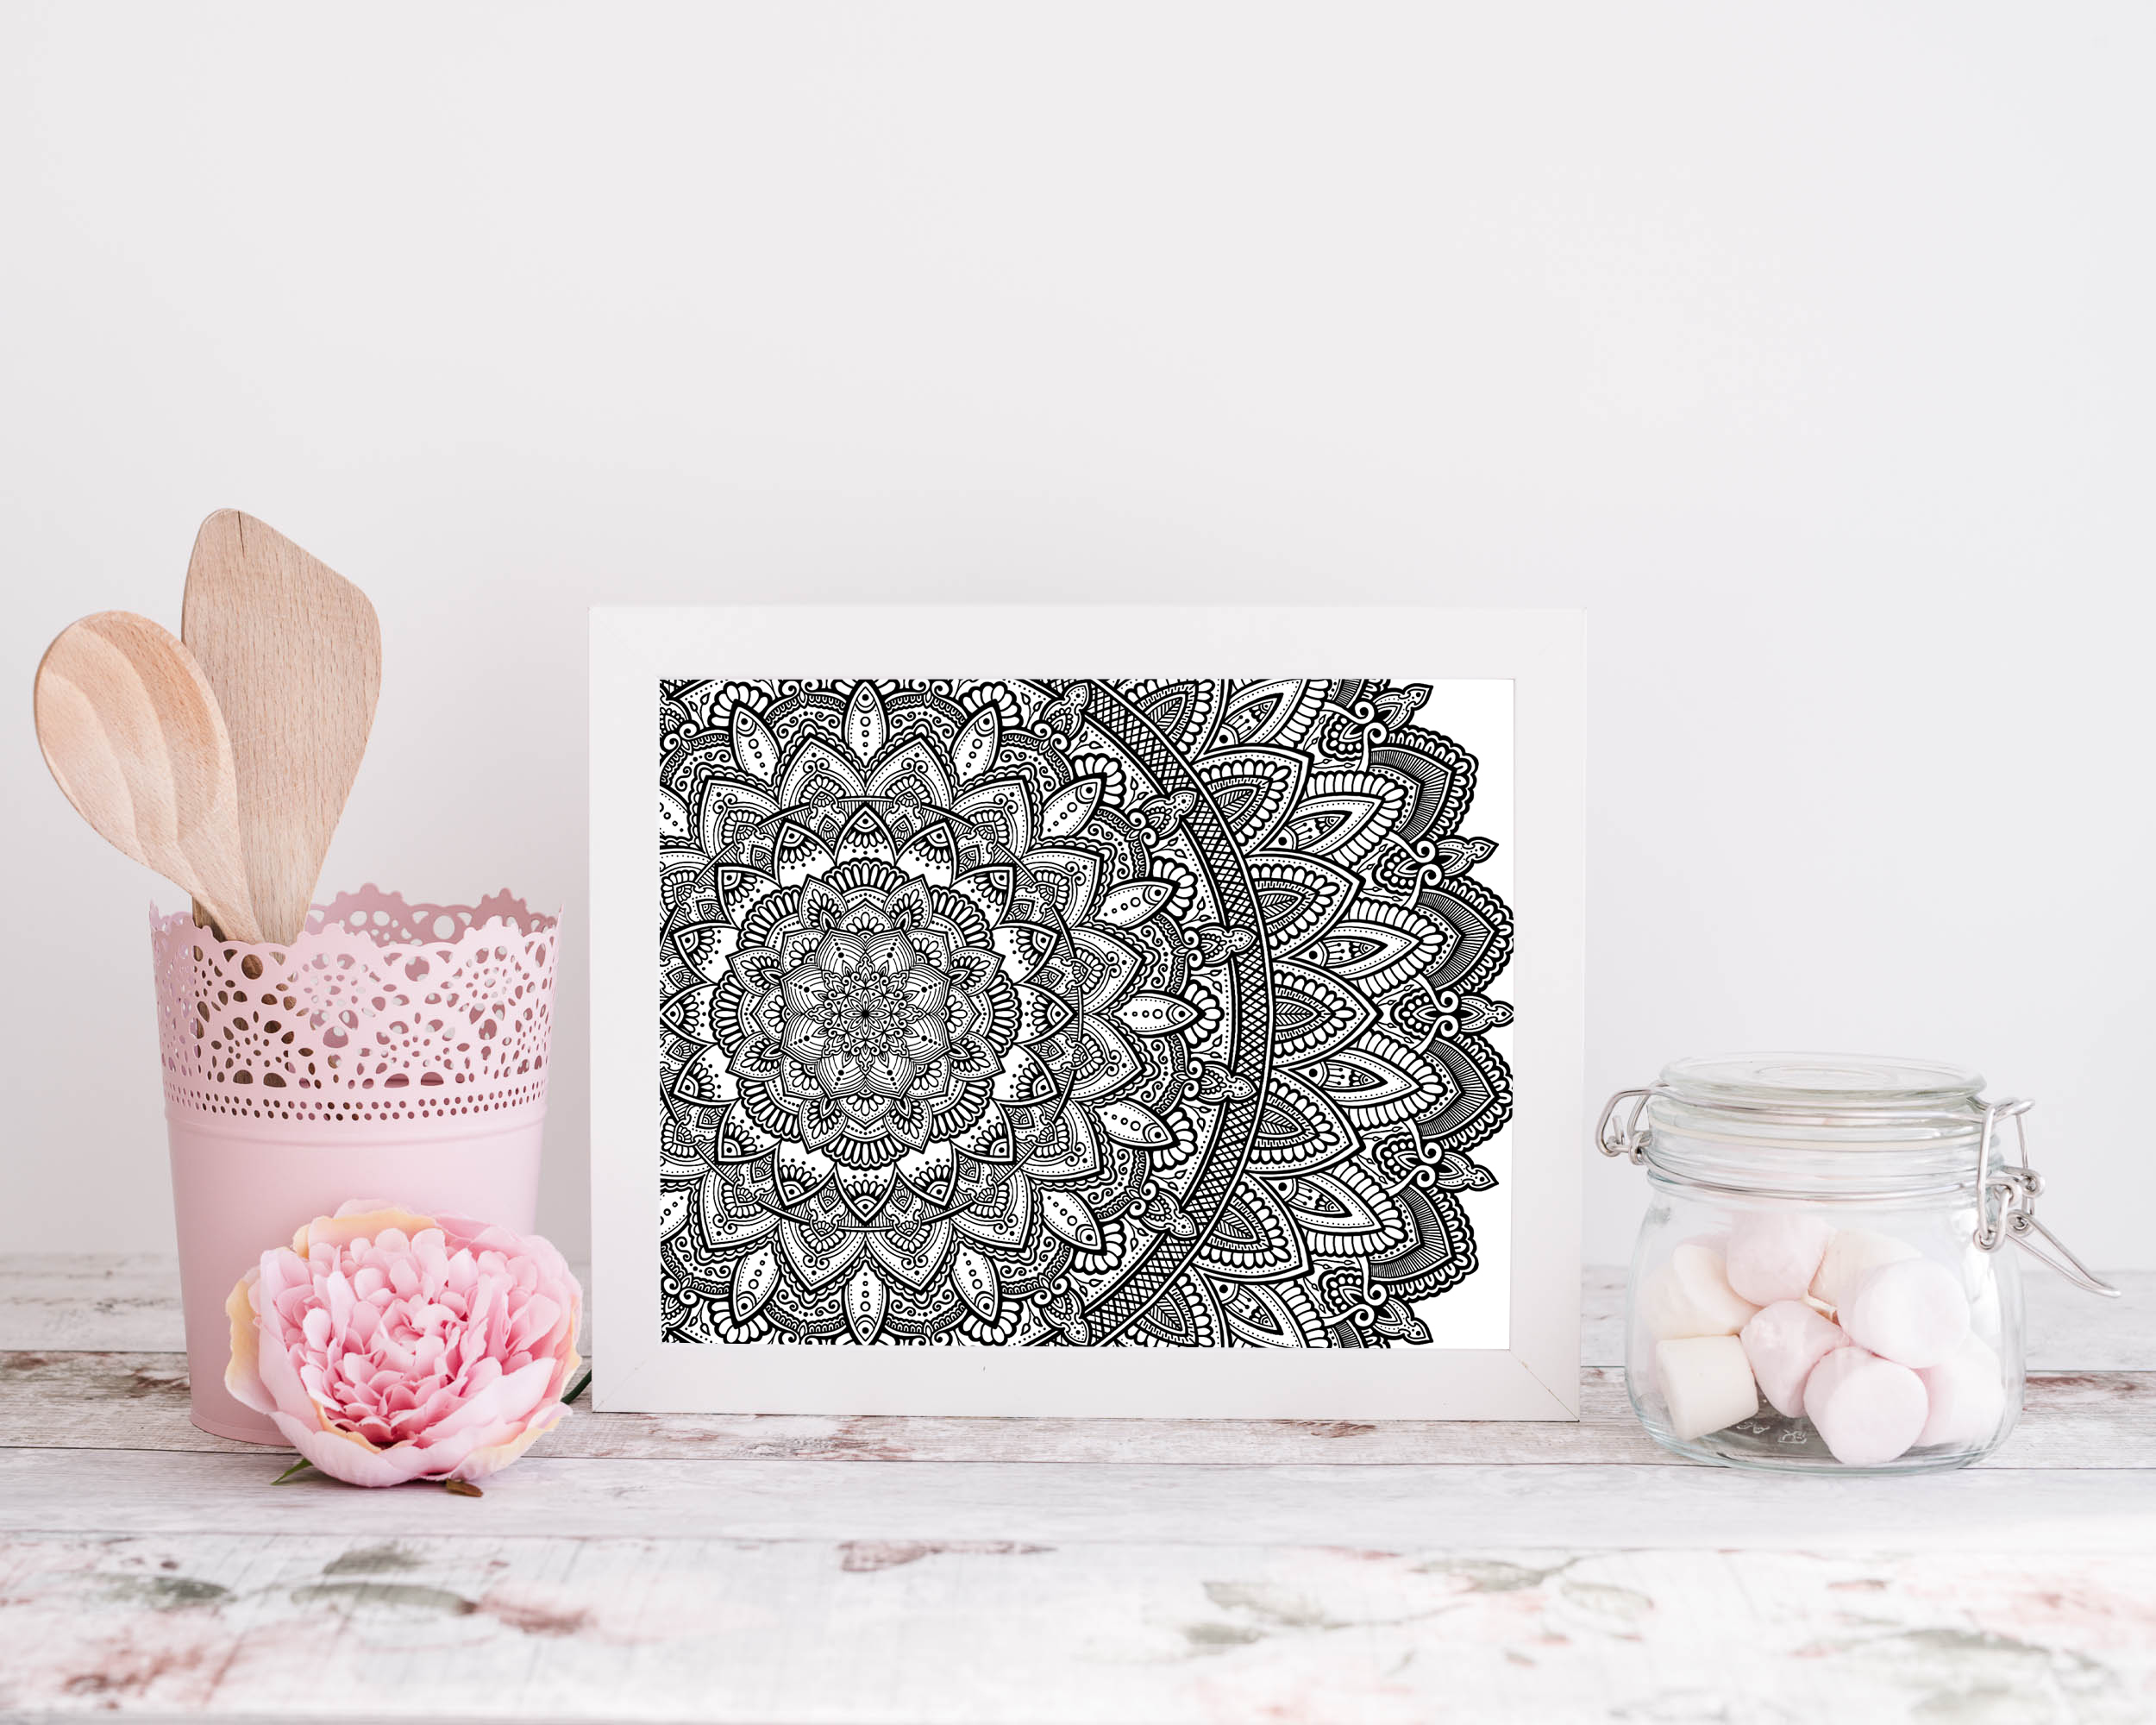
The completed journey: a hand-drawn mandala, now an archival print ready for your wall.
For framed pieces, we use acid-free mounts and UV-protective glazing. For unframed prints, each piece is interleaved with glassine, rolled in a protective tube, and shipped in a rigid mailer. We treat every order as though it is going to hang in our own home — because in a very real sense, it already has.
Why This Process Matters
We are sometimes asked whether all this would be more efficient if we worked purely digitally from the start. The answer is yes, obviously. It would also produce work that looks and feels different in a way that is difficult to name but immediately perceptible. There is something in a hand-drawn line — its slight variation in weight, its organic confidence or hesitation — that cannot be reproduced by a stylus on a tablet, however sophisticated the pressure sensitivity.
The physical first step is not a nostalgic affectation. It is a quality decision. It is the choice to begin every piece with the most honest, most human mark-making tool we have access to, and to preserve the character of that mark through every stage that follows. The digital world amplifies it; the archival print preserves it. But it started with a pen touching paper, and that origin is everything.